Organizing Your Vintage Cassette Collection for Easy Access

Most collectors think that a massive pile of loose cassettes is a sign of a growing collection, but it's actually a recipe for degradation. A disorganized collection isn't just a mess; it's a threat to the physical integrity of your magnetic tape. This guide explains how to categorize, store, and display your tapes so you can actually find what you want to hear without digging through a cardboard box for twenty minutes.
If you've ever dug through a bin only to find a bent J-card or a crushed case, you know the frustration. We aren't just talking about aesthetics here. We're talking about preservation. If the tape isn't stored upright or if the humidity hits it wrong, your favorite album is gone. It's that simple.
How Should I Store Vintage Cassettes to Prevent Damage?
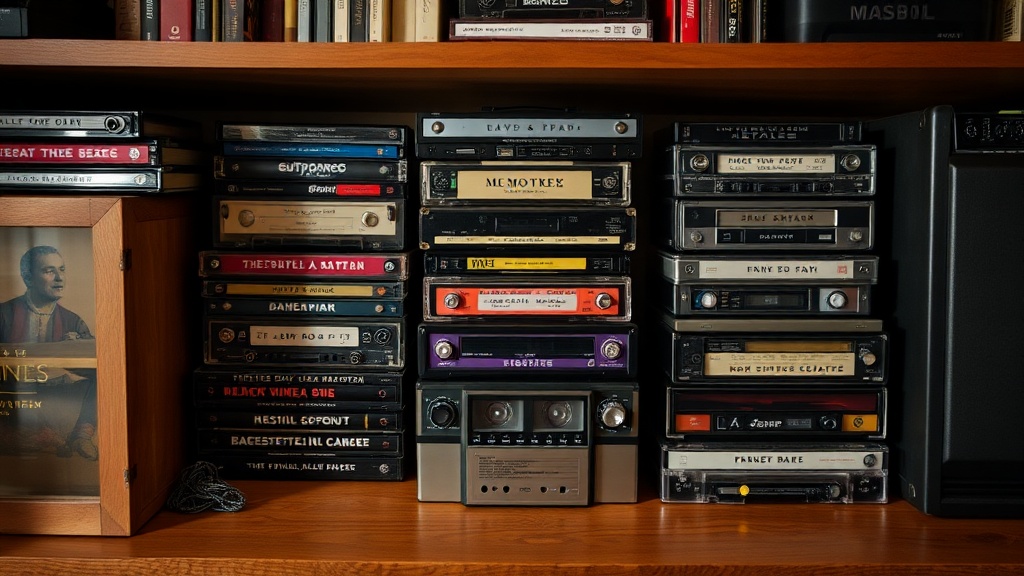
You should store your cassettes vertically in a cool, dry environment to prevent tape stretching and physical crushing. Storing tapes horizontally is a common mistake that puts uneven pressure on the reels, which can lead to "tape jam" or even permanent deformation of the plastic shell. Always aim for a stable, upright position—similar to how you'd store books on a shelf.
Temperature is your biggest enemy. If you keep your collection in a hot attic or a damp basement, the binder in the magnetic tape can break down. This leads to "sticky shed syndrome," though that's more common in high-end reel-to-reel tapes, it can happen to even the best-kept cassettes if the environment is poor. Keep them in a room with consistent temperature and low humidity.
A few quick rules for the environment:
- Avoid direct sunlight: UV rays can fade those beautiful J-cards and even warp the plastic casing.
- Watch the humidity: High moisture levels lead to mold growth on the tape itself.
- Airflow is good: Don't seal them in airtight plastic bins; the tape needs to breathe a little.
When you're setting up your storage, consider the weight. If you're using a shelf, don't overstuff it. A heavy load on a cheap particle-board shelf can bow in the middle, causing your tapes to lean at an angle. That angle is exactly what causes the tape to sag inside the shell. (I've seen plenty of collectors lose great albums because of a single warped shelf.)
If you're also looking to protect your playback gear, check out our guide on how to clean and restore your vintage Walkman to ensure your tapes aren't being damaged by a dirty playback head.
What is the Best Way to Categorize a Cassette Collection?
The best way to categorize your collection is by a system that balances alphabetical order with genre or artist preference. There isn't one "right" way, but a consistent system is what matters.
I've experimented with several methods over the years. Some people like to go strictly by artist name, while others prefer to group by era or genre. If you have a massive collection, a single alphabetical list becomes a nightmare. You'll spend more time looking for "The Smiths" than actually listening to them.
Here is a breakdown of common organizational structures:
| Method | Pros | Cons |
|---|---|---|
| Alphabetical (Artist) | Standard and easy to find specific albums. | Can become a mess if you have hundreds of artists. |
| Genre-Based | Great for mood-based listening. | Hard to decide where "crossover" albums go. |
| Chronological | Shows the evolution of music history. | Not helpful for finding a specific artist quickly. |
| Format/Quality | Keeps high-end Chrome/Metal tapes separate. | Requires more shelf space for different sizes. |
Personally, I use a hybrid system. I group by genre first (Rock, Jazz, Pop, etc.) and then alphabetize by artist within that section. This way, when I'm in the mood for some 80s synth-pop, I'm not digging through my heavy metal section. It makes the collection feel more intentional.
If you have high-end tapes—like the Type II Chrome or Type IV Metal tapes—I'd suggest keeping them in a separate, more protected area. These are often more sensitive to environmental changes than standard Type I Ferric tapes. You might even want to use a dedicated storage unit for these, much like selecting the right case for your collection to ensure they stay pristine.
How Do I Label My Tapes Without Ruining the J-Card?
Use a small piece of removable painter's tape or a dedicated archival-safe label on the spine of the case, rather than writing directly on the J-card or the cassette itself. If you must write on the tape, use a soft-lead pencil on the label area.
I've seen so many people use permanent markers on the actual cassette shell. It's a mistake. Even if it looks clean now, the chemicals in certain markers can react with the plastic or the magnetic coating over time. Plus, if you ever want to sell that piece, a Sharpie-marked tape is much less desirable to a serious collector.
If you are labeling the cases, here's a better way to do it:
- The Spine Method: Use a small, white adhesive label on the spine of the plastic case. This is the most efficient way to see what you have at a glance.
- The Index Method: Instead of labeling every single case, keep a digital or physical index. A simple spreadsheet or a notebook works wonders.
- The Pencil Method: If you're writing on the tape itself, use a soft pencil. The pressure of a ballpoint pen can actually scratch the shell or even affect the internal mechanics.
Don't forget the importance of the J-card. The artwork is half the reason we collect these things! If you're making custom tapes or re-labeling things, keep a digital scan of the original artwork. It's a lifesaver if a J-card ever gets damaged or lost. If you're looking for high-quality playback to enjoy those tapes, you might want to look into the technical specifications of the Compact Cassette to understand how different tape types interact with various heads.
One thing to watch out for: adhesive residue. If you use cheap masking tape and leave it on a case for five years, it's going to leave a sticky, nasty mess when you try to peel it off. Use acid-free, archival-grade labels if you're serious about your collection. It's a small investment that saves a lot of headache later.
Organizing a collection is never truly "finished." As you find more rare gems or specialized editions—like those rare colorways of the Sony WM-D6 Pro-era era tapes—your system will need to evolve. Don't be afraid to reorganize your shelves every few months. It keeps the collection feeling fresh and ensures you're actually interacting with your music rather than just staring at a wall of plastic.
Steps
- 1
Sort by Genre or Artist
- 2
Check Tape Condition
- 3
Select Appropriate Storage Containers
- 4
Label for Easy Identification