How to Properly Display and Maintain Your Vintage Walkman Collection

A vintage Walkman collection deserves more than a shoebox under the bed. Whether you've got three units or three hundred, proper display and maintenance protects your investment, preserves functionality, and turns your collection into something worth showing off. This guide covers everything from storage solutions that prevent belt rot to display setups that highlight your rarest pieces—practical steps you can take today to keep these portable music icons spinning for decades.
What's the Best Way to Store Walkmans to Prevent Damage?
The best storage keeps dust out, humidity low, and pressure off rubber components. Walkmans—like all vintage electronics—suffer when exposed to moisture, temperature swings, and UV light. The damage isn't always immediate. Sometimes belts degrade over years, capacitors leak slowly, or plastic yellows gradually until one day you pull out a Sony WM-D6C and realize the faceplate has turned the color of old custard.
Start with the container. Clear plastic storage bins with tight-fitting lids work well—the IRIS Weathertight Storage Box is a popular choice among collectors for its gasket seal and stackable design. Avoid cardboard. It attracts moisture and offers zero protection against the enemy of all tape players: dust.
Humidity control matters enormously. The ideal relative humidity sits between 40% and 50%. Higher than that and you're inviting corrosion on battery contacts and circuit boards. Lower dries out rubber parts faster. Toss a silica gel packet in each storage container, or invest in a small dehumidifier if you're storing units in a basement or garage. The Eva-Dry E-333 rechargeable dehumidifier works silently and doesn't need refilling.
Temperature stability counts too. Attics and garages swing wildly between seasons. A closet in your living space—where temperatures stay relatively constant—beats a storage unit every time. Here's the thing: thermal expansion and contraction stress solder joints over time. You might not notice the damage until a channel cuts out or the motor stalls.
For units with belts (which is most of them), storage position matters. Store cassette Walkmans with the tape door closed but no cassette inside. The pressure of a loaded tape can flatten pinch rollers over years. Portables with dead belts? Still remove the tape—stagnant belts can melt and fuse to the tape path, creating a cleanup nightmare.
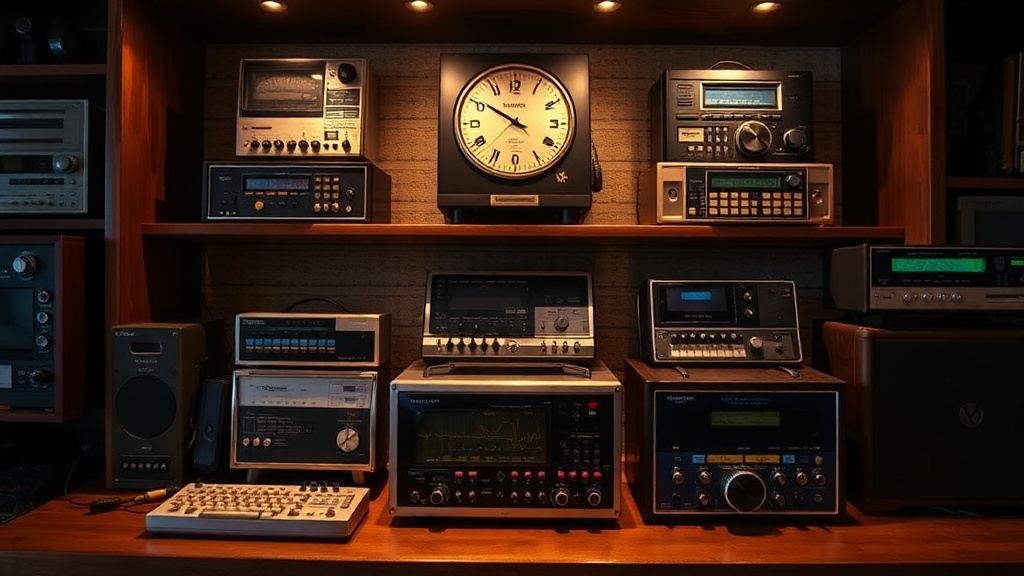
How Do You Display a Walkman Collection Without Causing Wear?
Displaying Walkmans safely means protecting them from light, dust, and handling while still making them visible. The temptation is to line them up on open shelves. That looks fantastic—for about a month. Then dust settles in buttons, UV light fades labels, and the oils from your fingers etch into chrome plating every time you move one to show a visitor.
Closed display cases solve most problems. Look for cabinets with glass doors—ikea's FABRIKÖR glass-door cabinet has served collectors well for years, offering adjustable shelves and a classic look that doesn't fight with retro electronics. The key feature you're after is UV-filtering glass. Regular glass blocks almost no UV. Your Walkmans will yellow. Your TPS-L2 from 1979 will look like it survived a house fire.
Lighting deserves serious thought. LED strips produce minimal heat and no UV, making them ideal for illuminating shelves. Skip halogen spots—they cook plastic. The Philips Hue Lightstrip lets you adjust brightness and color temperature; warm white (2700K) shows off silver and chrome finishes without that clinical blue cast.
Arrangement strategies vary by collection size and focus. Some collectors group by brand—Sony here, Aiwa there, Panasonic in the corner. Others organize chronologically, showing the evolution from 1979's chunky metal bricks to 1990s slimline wonders. The catch? Chronological displays require more research. Dates aren't always stamped on these units, and some models ran for years with minor revisions.
| Display Method | Best For | Cost Range | Drawbacks |
|---|---|---|---|
| Open shelving (IKEA KALLAX) | Budget collections, frequent rotation | $50-100 | Dust accumulation; no UV protection |
| Glass-door cabinet (IKEA FABRIKÖR) | Mid-size collections; room decor | $200-300 | Fixed shelf spacing; limited depth |
| Acrylic display cases (individual) | High-value singles; showcasing grails | $15-50 per unit | Costly at scale; takes up more space |
| Wall-mounted shadow boxes | Thematic displays; saving floor space | $30-80 each | drilling required; weight limits |
| Original retail display racks | Authenticity; serious collectors | $100-500+ | Rare; often incomplete or damaged |
Labels improve a display from hoarding to curation. Small brass plaques or printed cards identifying model, year, and significance tell visitors what they're looking at. A WM-EX1 doesn't look special sitting next to a WM-FX290—until you explain it's the first "EX" series Walkman, the one that started Sony's obsession with ultra-thin portables.
What Maintenance Do Vintage Walkmans Actually Need?
Vintage Walkmans need three things to stay functional: clean tape paths, healthy belts, and stable capacitors. Ignore any of these and your player becomes a paperweight. That said, maintenance isn't difficult—just methodical.
Start with cleaning. The tape path—that's the capstan, pinch roller, and heads—accumulates oxide shed from tapes over years. Use 99% isopropyl alcohol and cotton swabs. The GRC Precision Cleaning Kit includes the right swabs (pointed and flat) and lint-free cloths. Don't use drugstore rubbing alcohol—it's 30% water, and water plus vintage electronics equals corrosion.
Clean with the door open, mechanism exposed. Wet the swab, not the machine. Gently rotate the pinch roller while wiping—it should turn freely. The capstan (the metal post that pulls tape) collects the most grime. A dry pass after the alcohol removes residue. Worth noting: demagnetizing heads used to be standard maintenance. Modern tapes don't magnetize heads like ferric tapes did in the 70s, so skip the bulk eraser unless you're working with 40-year-old recordings.
Belt replacement separates working Walkmans from display pieces. Rubber belts turn to tar after 20-30 years. Symptoms include slow playback, wow-and-flutter (pitch wavering), or complete motor silence. Replacement belts aren't universal—you need specific sizes for specific models.
Several suppliers serve the vintage audio community. Rewind Audio stocks belts organized by model number. The PRB (Precision Replacement Belts) line offers generic square and flat belts in common sizes. For square belt measurements, wrap thread around the belt path, mark it, then measure. Flat belts need width too—usually 4mm or 6mm for Walkmans.
Installation varies by model. Some Walkmans (early Sony Sports, many Aiwa units) open with simple screws. Others—particularly thin "EX" series models—use clips and require plastic pry tools. Document every screw position with photos. The iFixit Pro Tech Toolkit includes the necessary bits and spudgers.
Capacitor replacement is advanced maintenance. Electrolytic capacitors dry out and leak. Symptoms include motor speed issues, weak audio output, or death. Recapping requires soldering skill and schematics. Unless you're experienced, find a specialist. The Stereo.net.au forums maintain lists of reputable vintage audio repair techs across North America.
How Often Should You Exercise Your Walkman Collection?
Working Walkmans need regular exercise—monthly at minimum. Motors seize. Capacitors reform when voltage passes through them. Rubber that sits static develops flat spots. A ten-minute play session every few weeks keeps mechanisms limber.
Rotate through your collection systematically. Don't just play the same three units. The ones in storage need love too. Keep a simple log—spreadsheets work, or even a notebook. Track when each unit last ran, what tape played, and any issues noticed.
Battery management matters even for display pieces. Remove alkaline batteries before storage. Leakage destroys battery compartments—the metal contacts corrode, plastic shells crack from internal pressure. For Ni-Cd and Ni-MH rechargeable packs (common in Discmans and later Walkmans), charge to about 40% before long-term storage. Full charge stresses cells; empty storage kills them.
Finally, handle with care. Those chrome-plated plastic shells scratch easily. The window plastic on WM-2 units is notoriously soft. Use microfiber cloths for dusting—paper towels are sandpaper at the microscopic level. When moving units between storage and display, hold them by the body, not the door or headphone jack. Those plastic latches snap.
Your Walkman collection represents a unique moment in audio history—the brief, magical window when music became truly portable. Treat these machines with respect, and they'll keep playing for decades. The hiss of Dolby B reduction, the mechanical clunk of a metal tape engaging, the amber glow of a level meter in a dark room—these experiences don't stream. They're physical. They're worth preserving.
Steps
- 1
Choose the Right Display Case with UV Protection
- 2
Clean and Prepare Each Walkman Unit Properly
- 3
Maintain Optimal Humidity and Temperature Levels